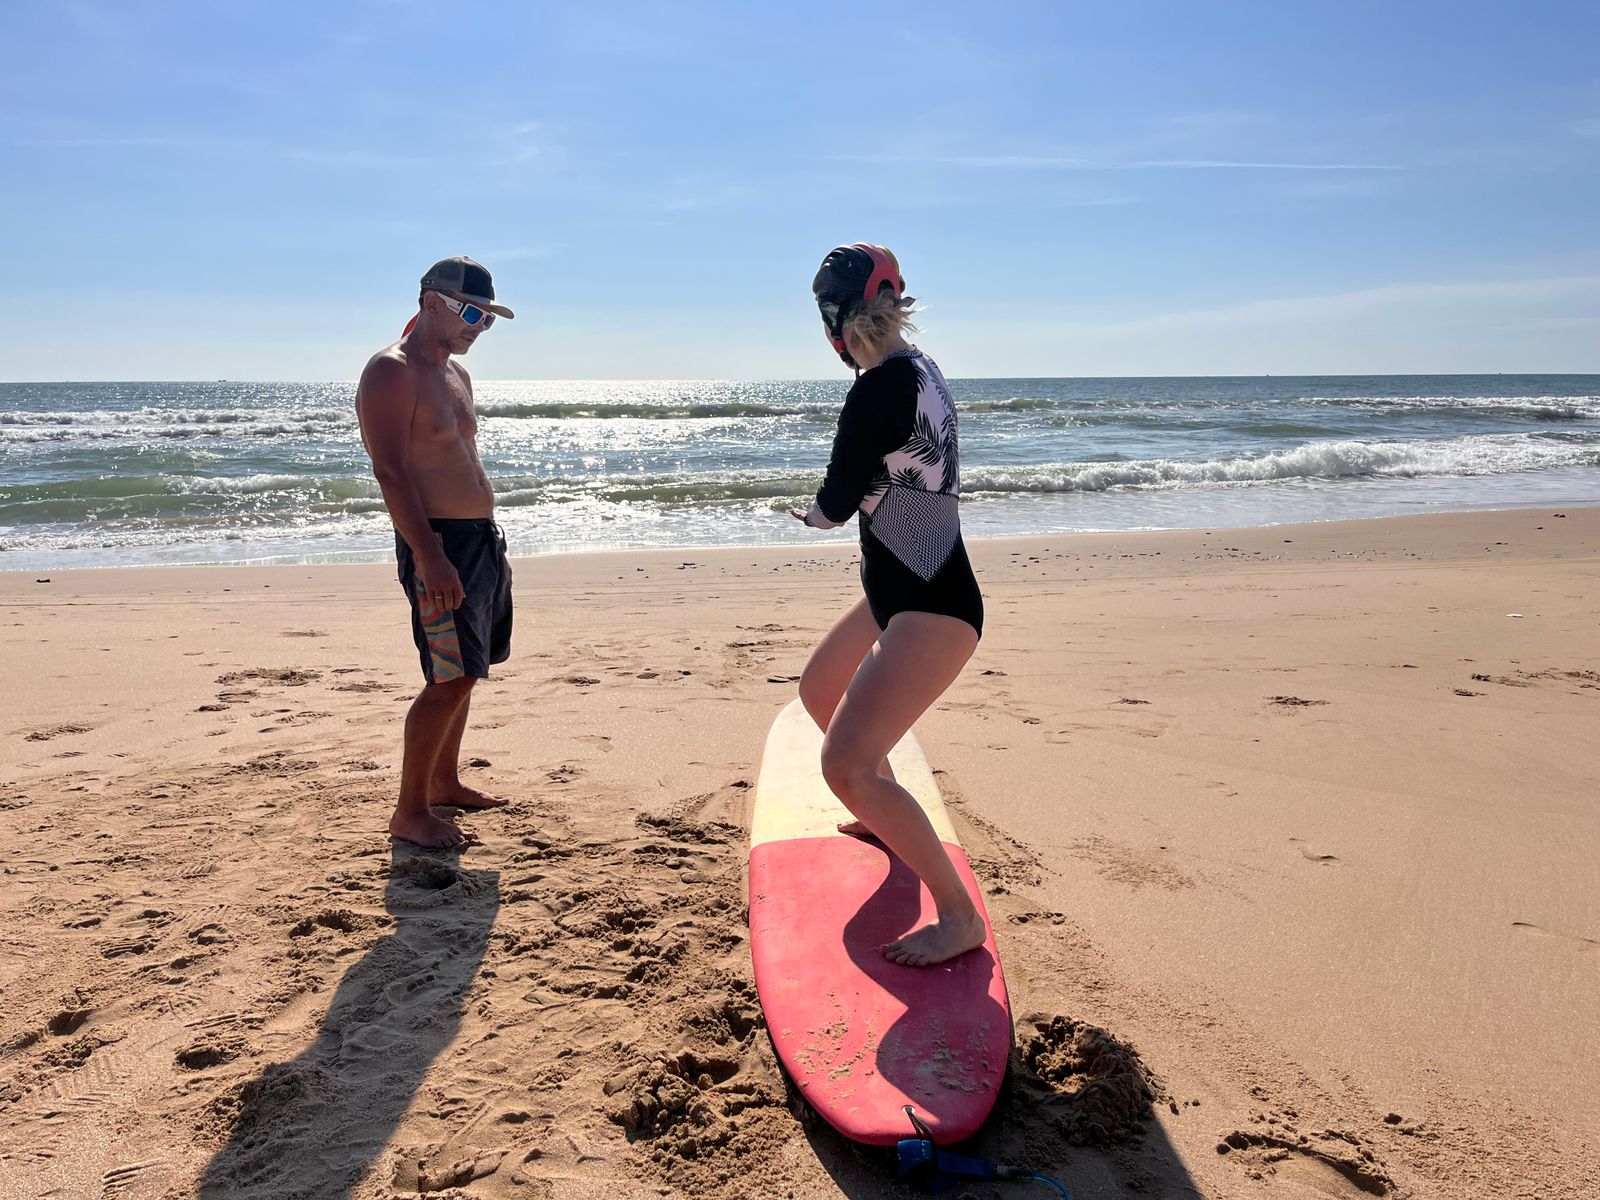
Starting out
Choose a surf lesson for your first day in the water
Find a first lesson whose meeting arrangements, equipment and teaching format leave you ready to learn, rather than trying to solve everything on the beach.
Starting out
Learn the names of the parts you will hear about in a lesson or shop, so a description of a board becomes easier to follow.
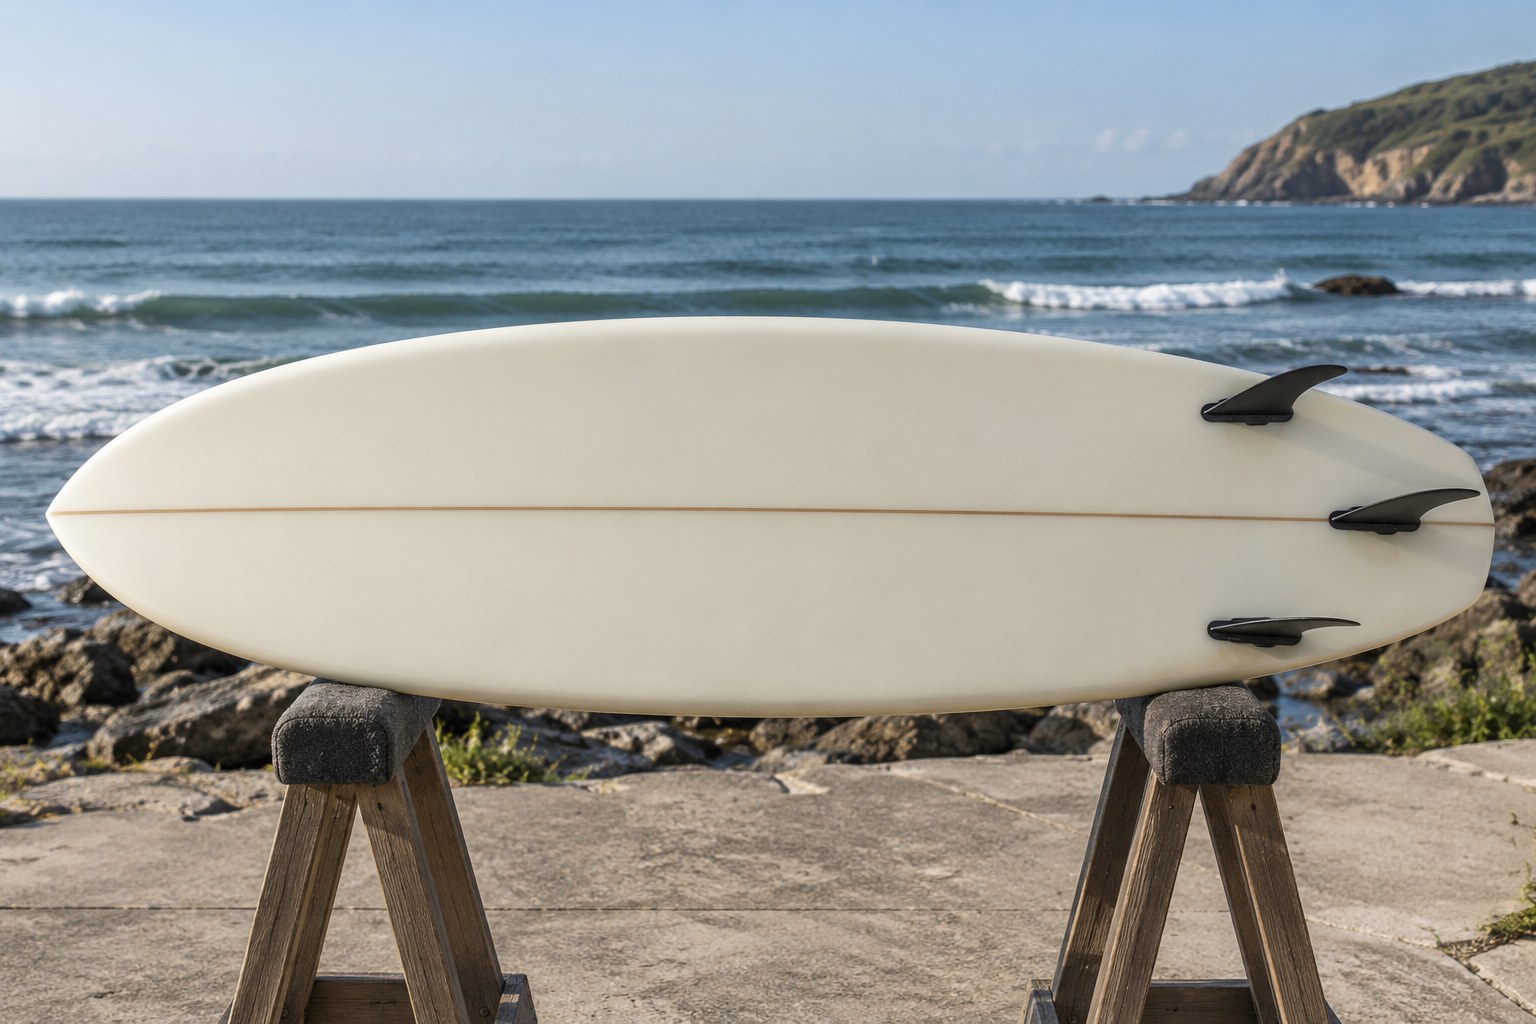
AI-generated illustration. Equipment details are illustrative; follow the instructions for your own item.
Surfboard vocabulary becomes less mysterious when you look at one board while someone names its parts. Ask a school or shop to show you a suitable example on a stable padded support. You do not need to memorise a design catalogue before your first lesson, but knowing where the nose, tail and rails are makes instructions more specific.
The nose is the front end and the tail is the rear. The upper surface is the deck; the underside is the bottom. The rails run along the sides. These names identify locations rather than quality levels: a round nose is not automatically better than a pointed one, and a thin rail does not tell you whether a board suits your experience.
Fins project from the bottom near the rear. Depending on the construction, they may be fixed or removable. Removable fins fit particular plugs or boxes, so a fin is not a universal replacement simply because its outline looks similar. Ask which system the board has before buying spare parts.
The leash attachment is generally near the tail on the deck. The leash joins the board to a cuff worn by the surfer. Keep the names of the cord, cuff and board attachment distinct when reporting a problem: saying “the leash is loose” does not tell a shop whether you mean the closure at your ankle or the connection to the board.
A visible strip running along the centre of some boards is a stringer. Construction varies, and the absence of a visible wooden strip does not mean a board is missing a component. Use the maker's construction description to understand that particular model rather than judging it by resemblance to another board.
Viewed from above, the outside silhouette is the outline. Viewed from the side, the lengthwise curve is called rocker. Thickness changes along the board and across it. A dimensions label gives selected measurements, not a complete description of all those curves.
Try a simple observation exercise in the shop: identify the widest part, look at the shape of the tail, and notice how much the ends rise in side view. Then ask what those features are intended to do in that model. This turns an unfamiliar word into a question about a particular board rather than an isolated rule.
Photograph the model name and dimensions if the shop permits it. Those details will be more useful when you compare options later than a picture of the graphic alone. Keep a note of the fin system as well, especially if the displayed board and the version available to order use different fittings.
Starting out
Find a first lesson whose meeting arrangements, equipment and teaching format leave you ready to learn, rather than trying to solve everything on the beach.

Starting out
Get clear answers about teaching, equipment and changes of plan before a surf school turns a provisional enquiry into a booking.