Boards & equipment
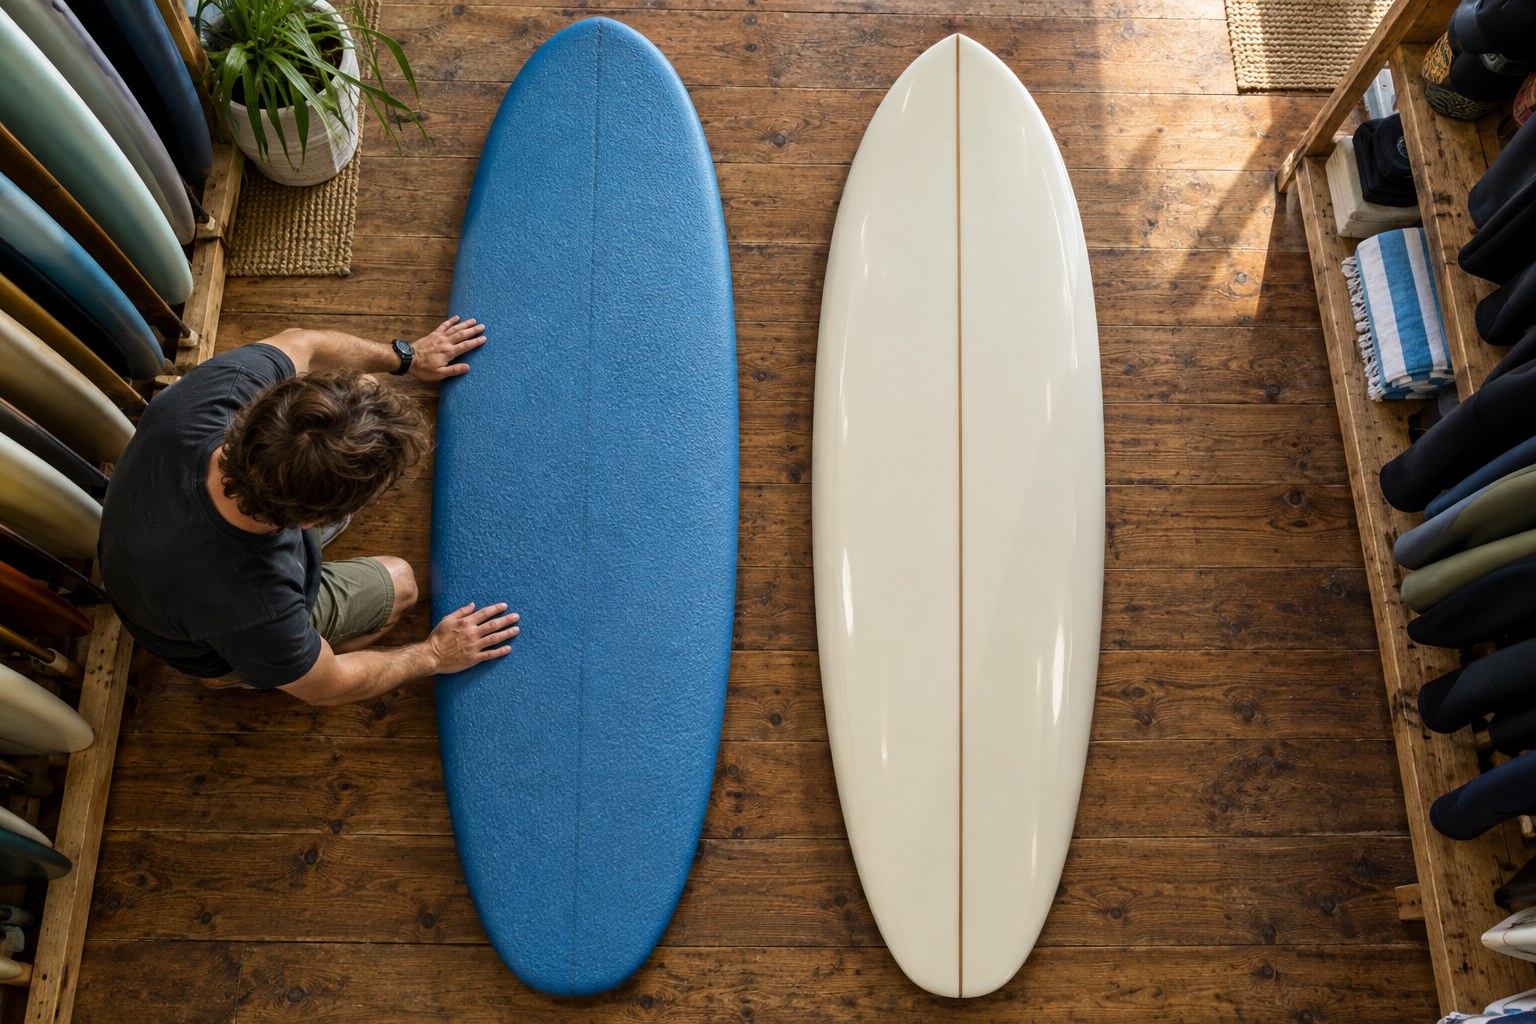
Soft top or hard board for your first purchase
Choose construction alongside shape, condition and the way you will use the board, rather than treating a hard board as an automatic upgrade.
Boards & equipment
Roof-rack pads must match the bars and the complete carrying system. Begin with vehicle and rack compatibility, then examine the pad dimensions.
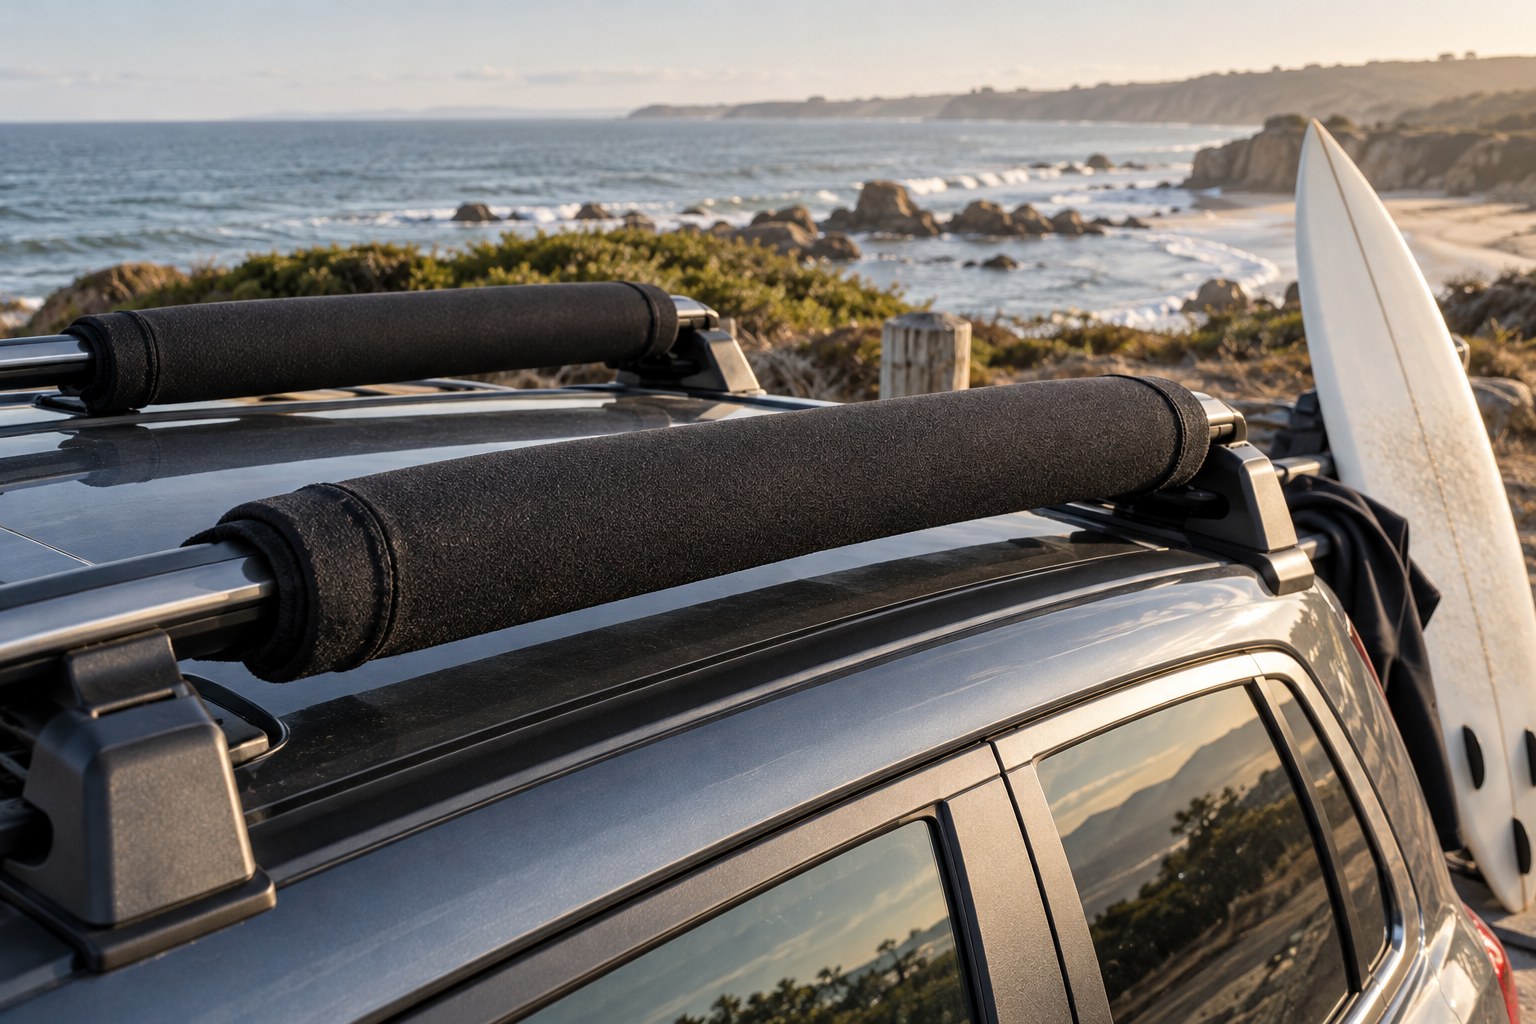
AI-generated illustration. Equipment details are illustrative; follow the instructions for your own item.
Roof-rack pads are components, not a complete answer to transporting a surfboard. The vehicle, rack, pads, straps and board all impose requirements. A pad that wraps neatly around a bar does not by itself establish that the arrangement is suitable for your car or load. Begin with the vehicle and rack instructions, then choose accessories approved for that setup.
Write down the exact vehicle model and year, the roof configuration and the rack model. Photographs help, but a product number is better evidence than saying the bars are 'roughly oval'. If the rack was supplied with a used vehicle, establish what it is before shopping for pads.
Check whether the pad is designed for a narrow or wide bar profile and how its closure is meant to sit. For example, Thule offers different surf-pad widths and specifies using its pads with the relevant load or locking straps. That is product-specific information; it does not mean every pad and every strap are interchangeable.
Measure the usable bar area and consider the board's contact points according to the rack and board guidance. A long pad may not help if other mounted equipment prevents the intended arrangement. Ask the rack supplier to assess the complete combination rather than supplying measurements from one isolated component.
Check whether you can inspect the closure after installation. If a pad conceals damage or makes an existing attachment difficult to access, resolve that before loading. Padding is not a remedy for a loose rack, a damaged bar or an incompatible fitting kit.
A cheap pair of pads may require separate approved straps, while another system includes them. List every required part and its specification. Include replacement availability: a system is easier to maintain when you can identify the correct strap or pad without guessing at a generic equivalent.
Read the care and inspection instructions as well as the sales description. You will need to know how to recognise wear, when to remove the accessories and how to store them. If the instructions are missing from a second-hand purchase, obtain them from the manufacturer before using the equipment.
Arrange the first fitting in a suitable place with time to follow the instructions and seek help. Check the prescribed load limits, positioning, fastening and rechecking procedure for your system. This article cannot supply one universal strap route or tightening method because the relevant equipment differs.
Think about the journey's practical obstacles. Note the new overall height and check access to garages or covered parking using actual measurements. Consider where you will load and unload without standing in traffic or obstructing pedestrians. If you cannot comfortably reach the required fastening points, find an appropriate alternative arrangement rather than improvising from an unstable position.
Finally, record the component names together. When a pad becomes worn, you want to replace it within the same verified system, not restart the search from a blurry photograph. The purchasing decision is complete when the parts, instructions and vehicle all agree, and you can carry out the required routine reliably.
Boards & equipment
Choose construction alongside shape, condition and the way you will use the board, rather than treating a hard board as an automatic upgrade.

Boards & equipment
Bring a record of the boards you have used and the sessions you want to your sizing conversation.