Boards & equipment
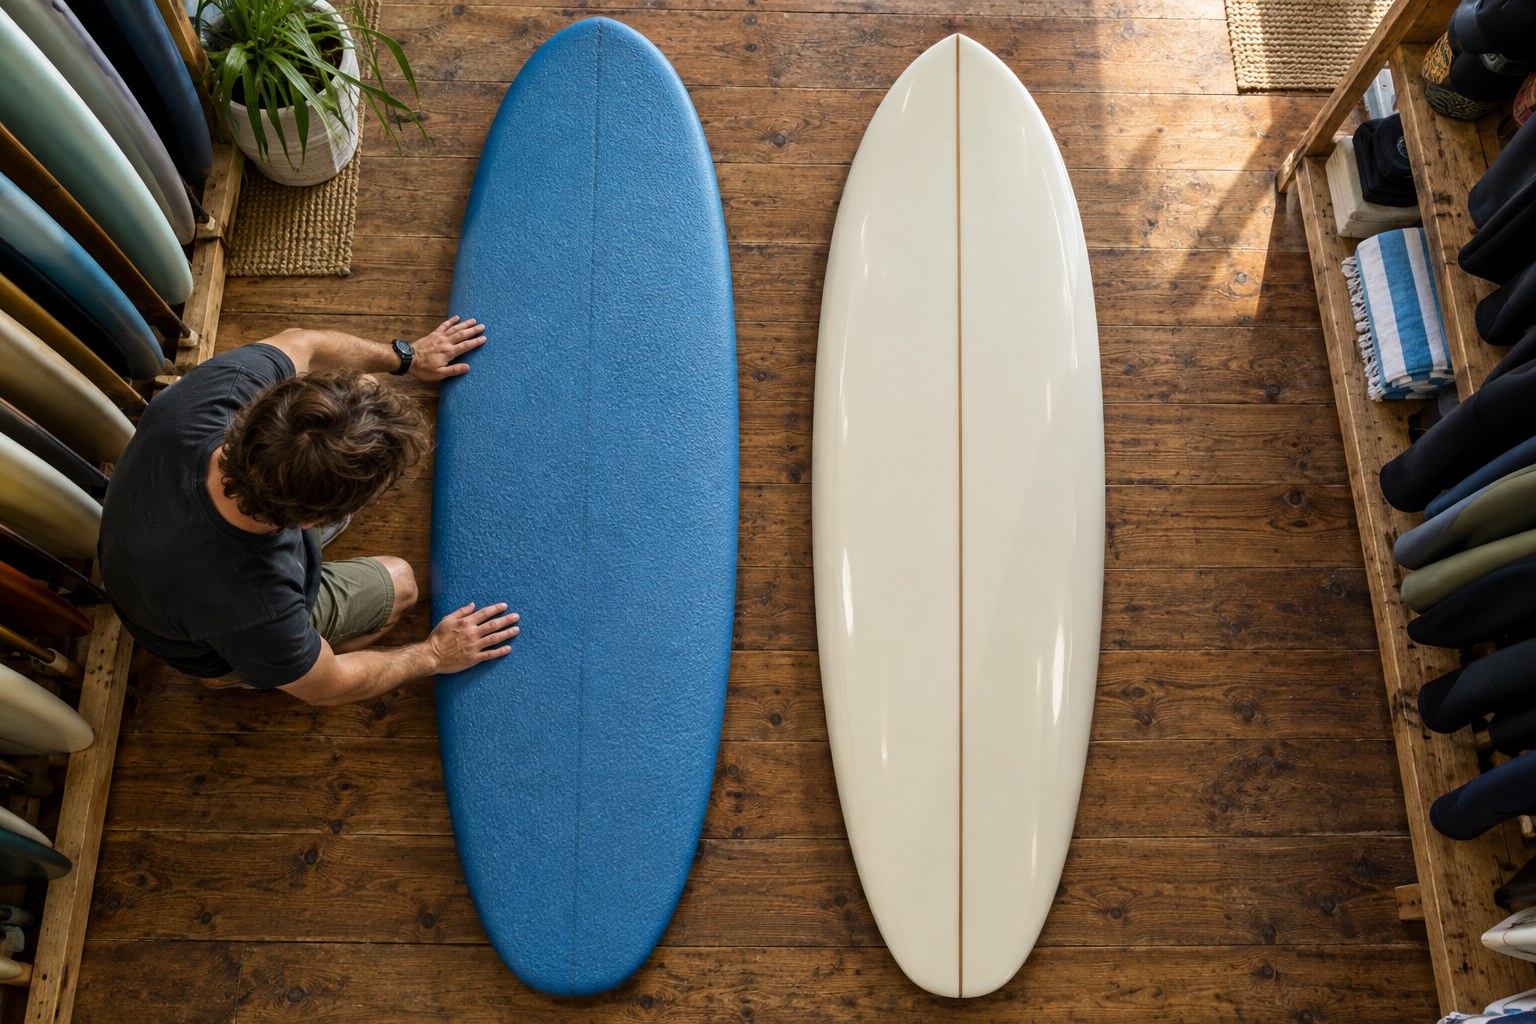
Soft top or hard board for your first purchase
Choose construction alongside shape, condition and the way you will use the board, rather than treating a hard board as an automatic upgrade.
Boards & equipment
Lay out the complete pad with its backing intact, confirm compatibility and allow the specified bonding time before planning a session.
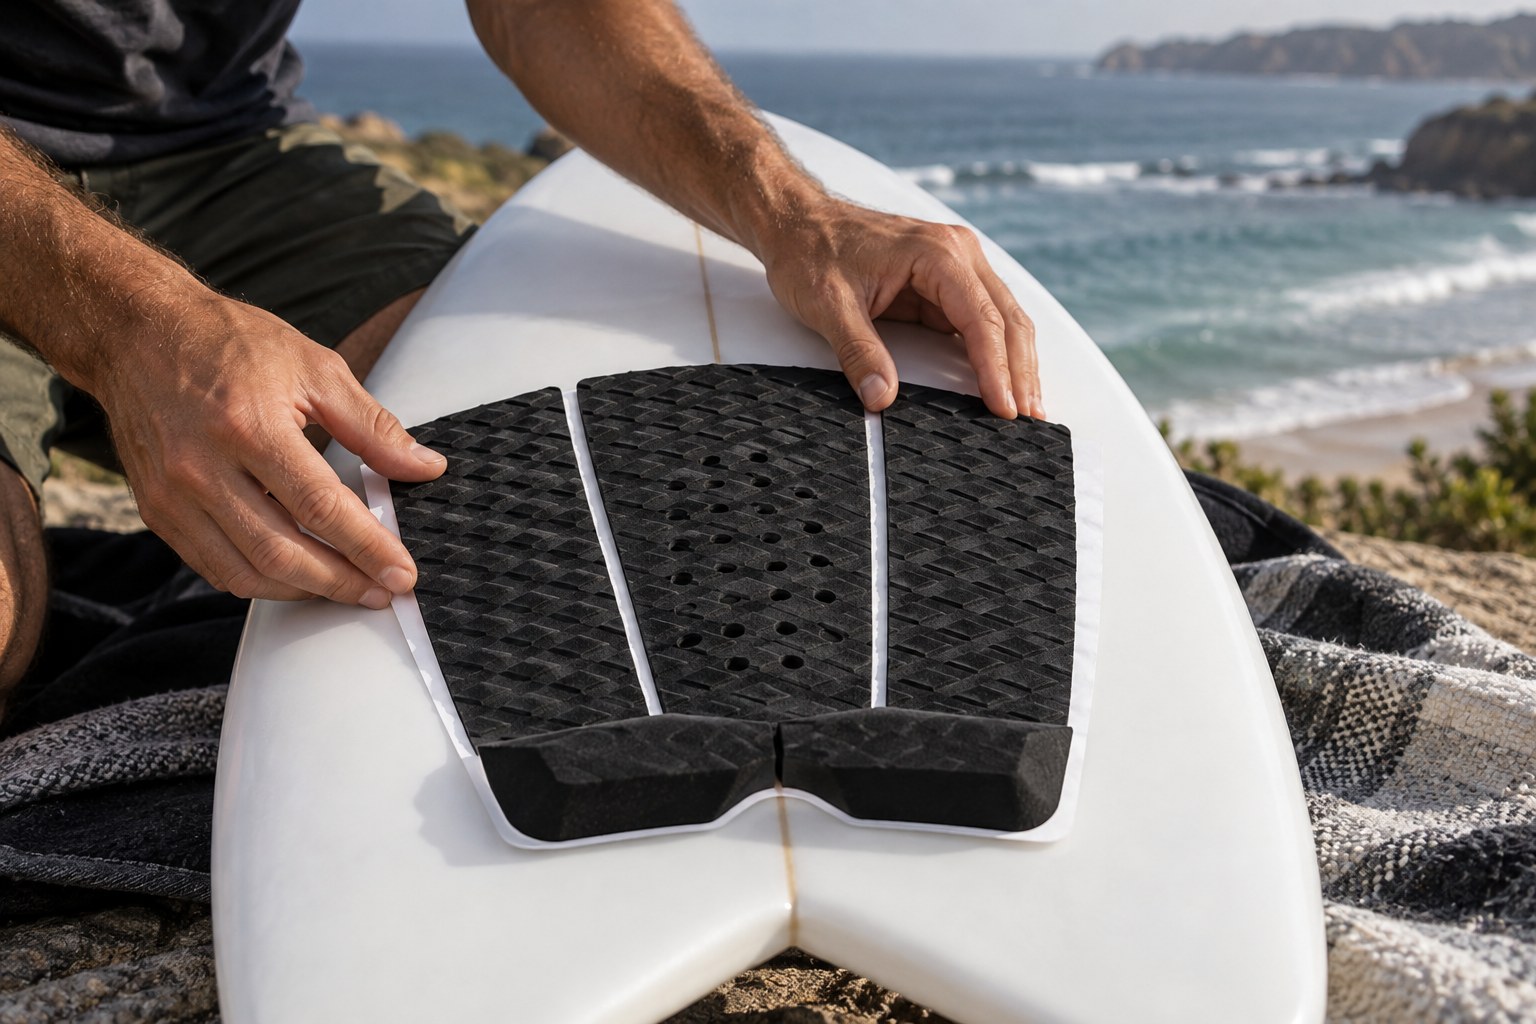
AI-generated illustration. Equipment details are illustrative; follow the instructions for your own item.
The most useful moment in traction-pad installation comes before any backing is removed. At that stage you can still move the pieces, check the outline and ask whether the product belongs on that board. Once adhesive touches the deck, a casual adjustment may no longer be simple. Prepare the placement and the schedule together.
Begin with the pad maker's instructions and the board manufacturer's surface guidance. Confirm that the combination is supported. Do not assume a pad intended for a hard surfboard will attach appropriately to every foam deck or textured finish. If the instructions disagree or leave the surface unspecified, ask before proceeding.
Place the pieces with the protective backing still attached. Check the relationship to the board's centreline, tail outline and leash connection area. Look from above and from the side. A raised kick or arch may appear unobtrusive in a flat photograph but occupy a more noticeable position on the actual board.
Ask an instructor or knowledgeable shop to help relate the placement to your stance if you are unsure. Avoid copying a fixed distance from a social-media photograph. Board shape, pad shape and intended foot position vary. The goal is a deliberate arrangement for your equipment, not an imitation of somebody else's tail photograph.
For a multi-piece pad, check the permitted spacing and orientation in the instructions. Keep all pieces together until you understand the layout. Spreading them merely to fill empty deck space can change the shape underfoot without addressing the original reason for buying the pad.
Follow the approved cleaning and preparation method. A surface that looks clean may still have residue, but that is not a reason to try a household solvent at random. Ask the board or pad supplier which product and method are compatible. Do not sand a finish or add extra adhesive unless the relevant instructions explicitly call for it.
Set aside a clean work area where the board can remain supported and undisturbed. Have the instructions accessible before handling the adhesive. Keep removed backing and packaging away from the prepared deck, and avoid beginning the job in a hurried car park just before entering the water.
Dakine's published pad instructions specify a 24-hour adhesive bonding period before use. Other products may give different directions, so use the period stated for your pad rather than treating that figure as universal. If the next session is too soon, postpone the installation or make another equipment arrangement.
After installation, inspect the result according to the product guidance. If an edge has lifted or the placement is visibly wrong, contact the supplier rather than improvising a repair with unrelated glue. Save the packaging and model information until the installation is settled.
A successful fitting does not need elaborate tools or a dramatic transformation. It needs compatible equipment, a considered layout, correct preparation and enough time for the specified process. Most of those decisions can be made while the backing is still safely in place.
Boards & equipment
Choose construction alongside shape, condition and the way you will use the board, rather than treating a hard board as an automatic upgrade.

Boards & equipment
Bring a record of the boards you have used and the sessions you want to your sizing conversation.