Wetsuits & clothing
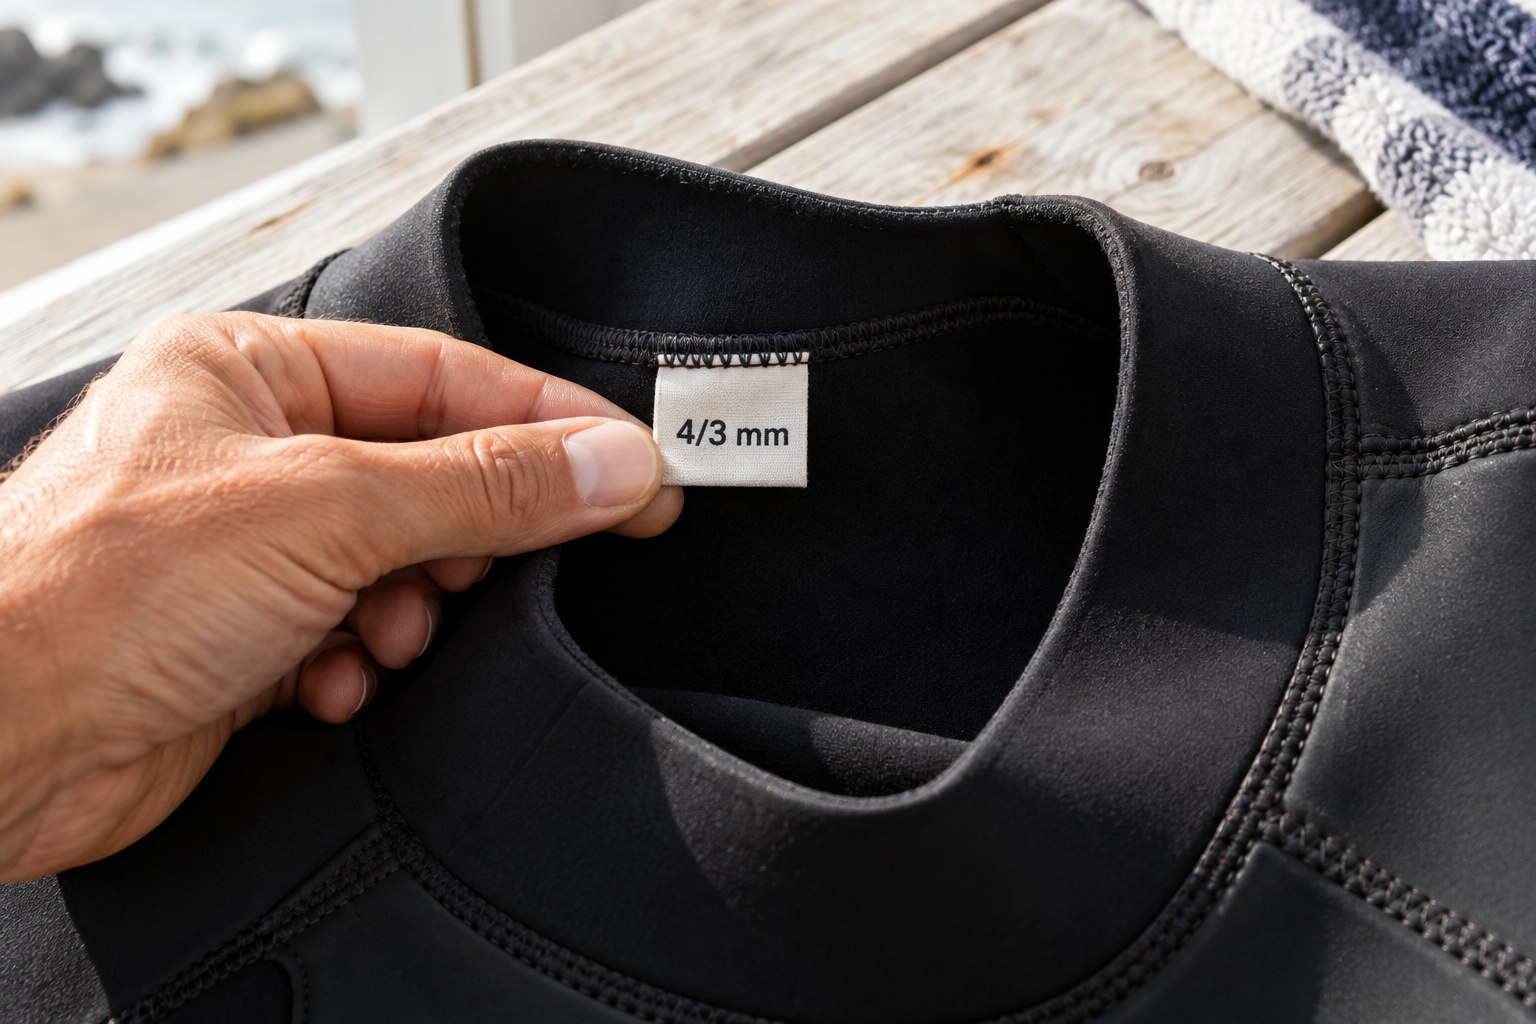
Read a wetsuit thickness label before comparing suits
Those slash-separated numbers describe material thickness, not a complete verdict on warmth. Read them alongside the suit's construction, fit and intended conditions.
Wetsuits & clothing
Seam terms describe how panels are joined or sealed. Read the full construction description instead of using a single acronym as a quality score.
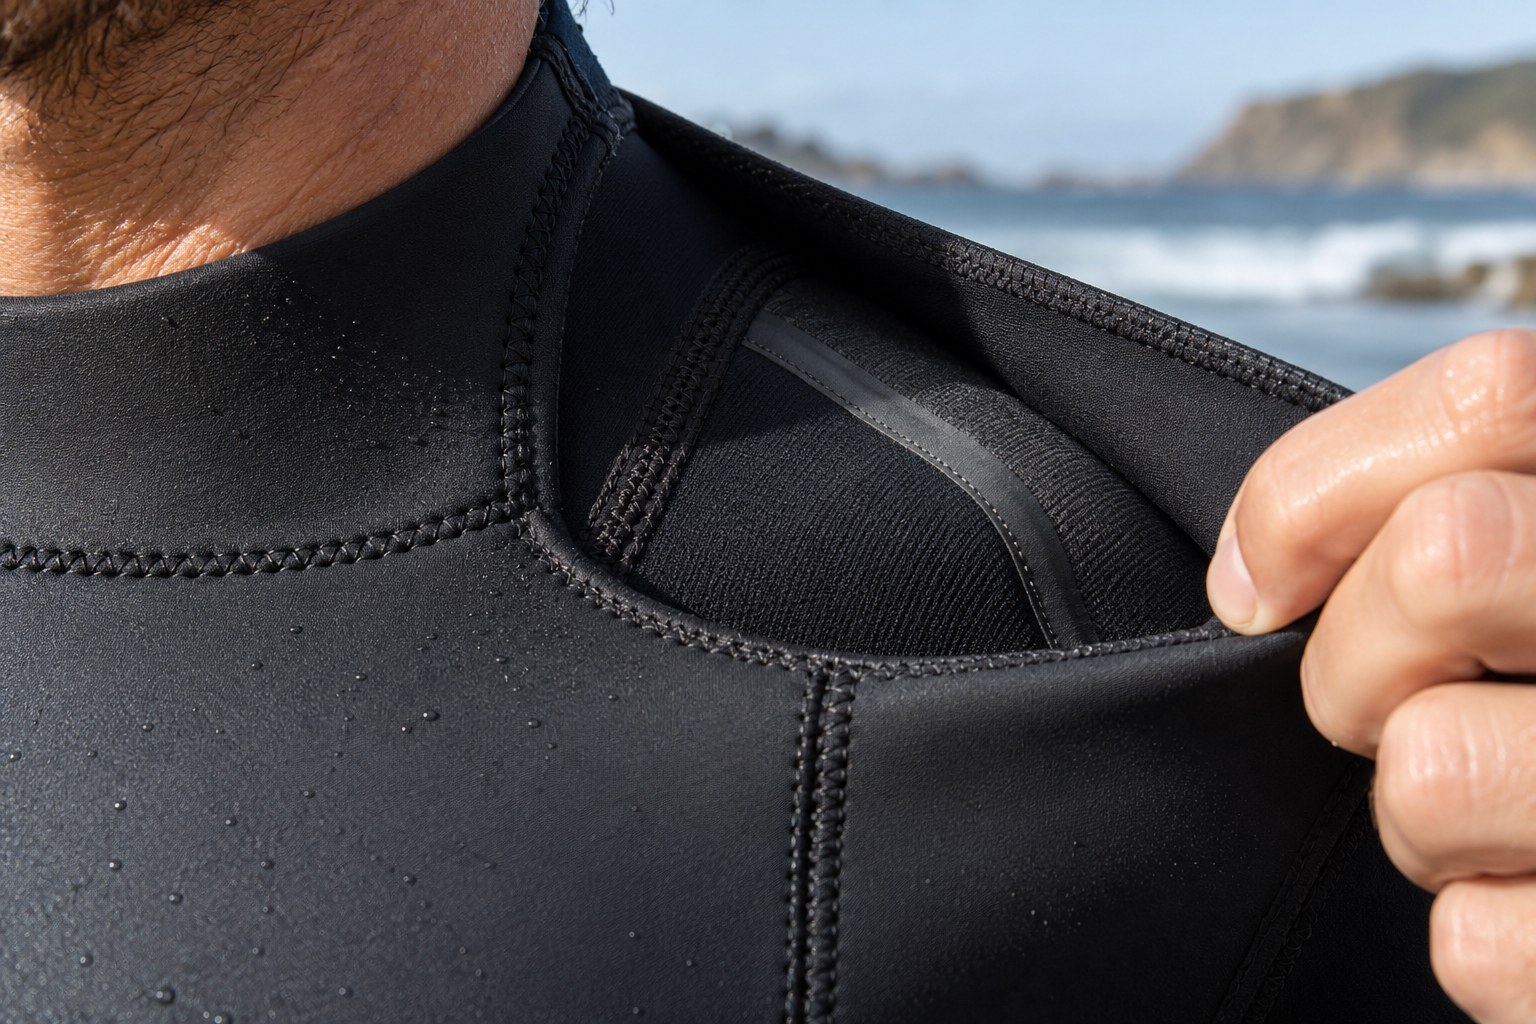
AI-generated illustration. Equipment details are illustrative; follow the instructions for your own item.
Wetsuit descriptions often place several seam terms together: flatlock, glued and blind stitched, taped or liquid sealed. These words refer to different aspects of the join. Some describe how the panels are connected; others describe an additional treatment. A suit can therefore have more than one relevant term without the description being contradictory.
O'Neill's guide describes flatlock stitching as passing through overlapping panel edges. Its glued and blind-stitched construction combines adhesive with a stitch that does not pass completely through the panels. Tape may then be added to selected seams or more extensively. These distinctions explain the terminology; they do not establish that two models with similar wording perform identically.
When a listing says 'taped', ask where the tape is applied. Is it on all seams or only designated areas? Look for an interior photograph or a detailed specification. A close-up of one taped junction cannot show what happens across the rest of the suit.
Similarly, distinguish a general collection description from the specification of the exact model and thickness you are buying. A brand may use different constructions within one family. A retailer page that merges several variants can make this unclear, so request confirmation using the product code.
Write the information in ordinary language. For example, note 'glued and blind stitched, internal tape at specified areas' rather than copying three promotional acronyms that you will not recognise later. The purpose is to understand the garment, not accumulate impressive terms.
During a fitting, look at the inside as well as the outside where the retailer permits it. Notice how joins sit against your body and whether there are obvious loose sections, lifting tape or visible damage. Do not pull opposing panels apart to test the strength of a seam. A shop inspection is not a destructive product test.
If looking at a used suit, ask for clear photographs of the interior joins and any repairs. A repaired seam may need explanation from the seller or a repair service. Do not infer its remaining life from colour alone, and do not accept a vague claim that every visible defect is merely cosmetic.
Seam construction belongs alongside fit, material thickness, lining, entry and intended use. If two suits differ in all those areas, you cannot attribute the whole price difference to the seams. Ask the retailer to explain which differences are relevant to your planned sessions.
Care and repair arrangements also deserve attention. Find the manufacturer's cleaning and storage instructions and ask where repairs are assessed. A construction you understand and can maintain may be a more suitable choice than an unfamiliar system bought solely because it sounds advanced.
Avoid translating a seam description into a promise that no water can ever enter the suit. Openings, fit and overall condition remain part of the garment. The wording helps you compare engineering choices, but it does not replace trying the suit on or choosing equipment with advice appropriate to your location.
Save the exact specification after purchase. When a problem appears later, you can describe whether it concerns stitching, a taped section or another part of the join. That makes a repair enquiry clearer than reporting simply that the wetsuit has 'bad seams'.
Wetsuits & clothing
Those slash-separated numbers describe material thickness, not a complete verdict on warmth. Read them alongside the suit's construction, fit and intended conditions.
Wetsuits & clothing
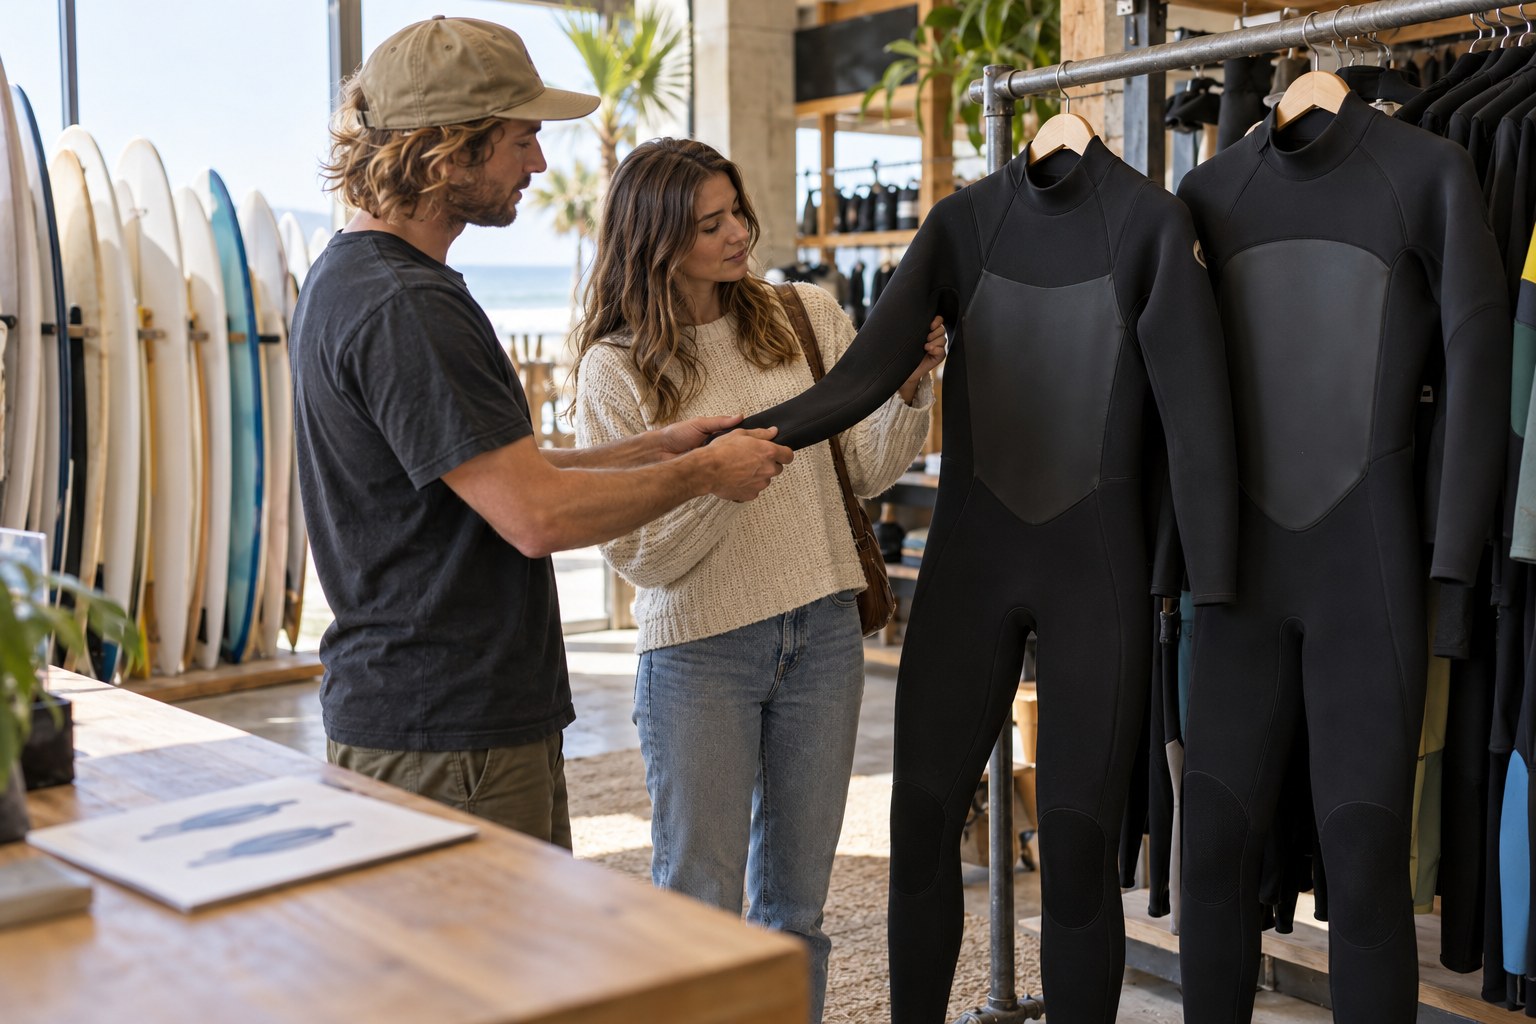
Bring the destination, season and session plan to a local shop, then compare its advice with the manufacturer guidance for the actual suit.